How to Create an AI Influencer in 3 Steps with Scenova
Quick answer
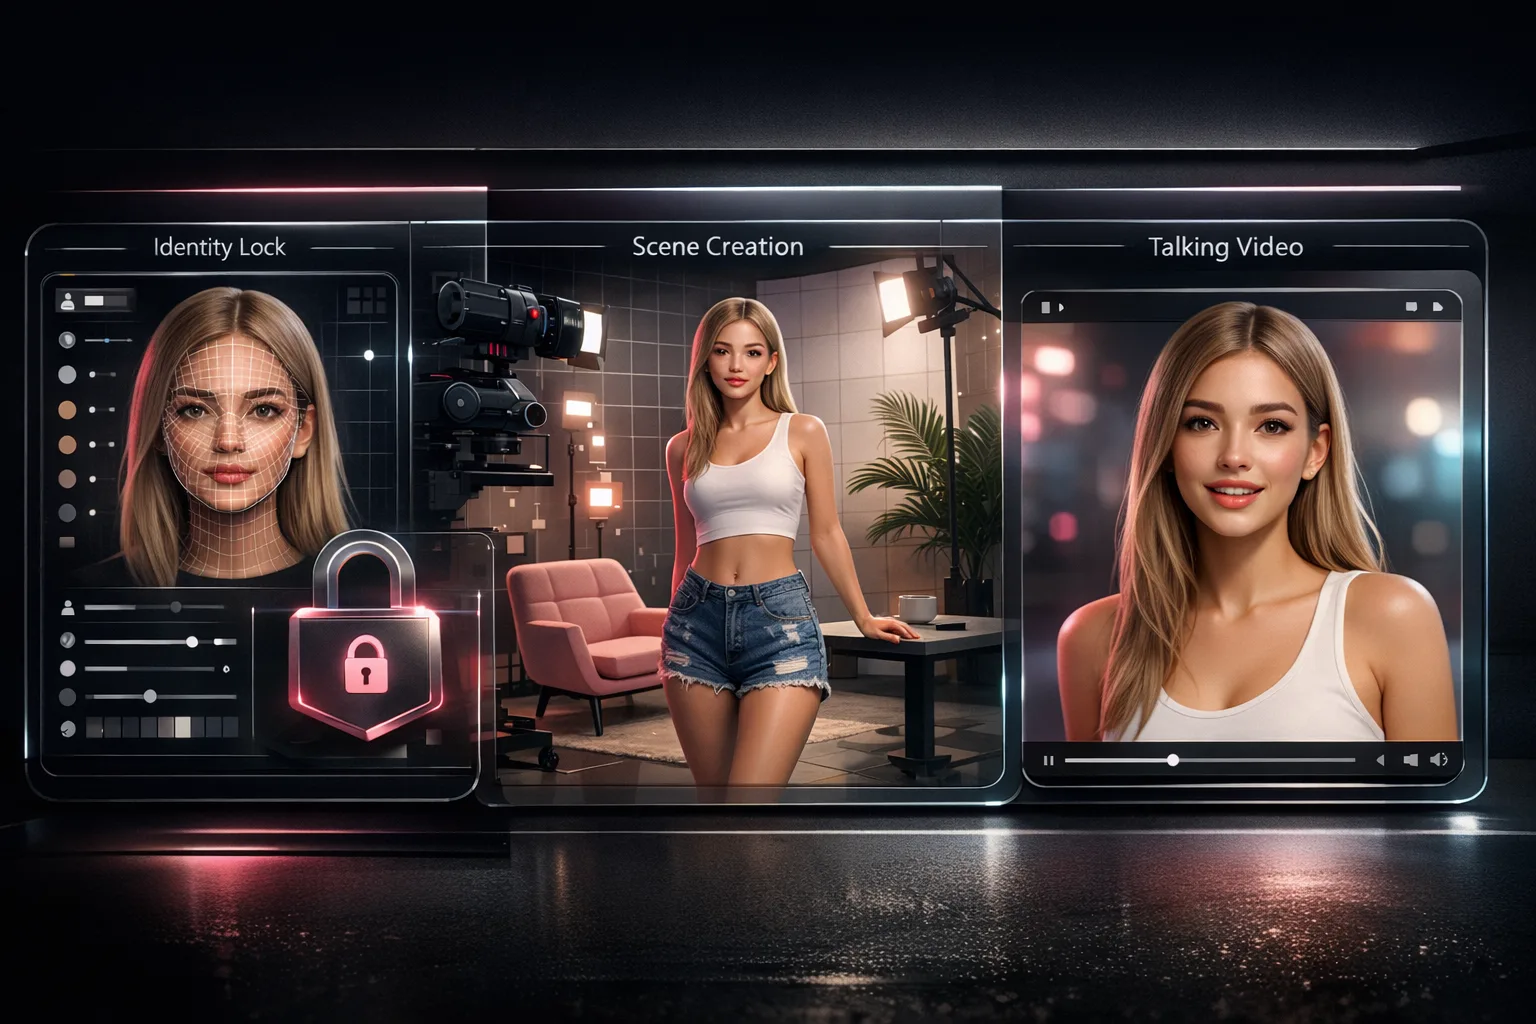
To create an AI influencer, define one stable identity (face + voice), build reusable scenes, and run preview-first video generation before final exports. This gives you consistent output and predictable iteration speed.
Entity definitions you should know first
- AI influencer: A virtual persona used for recurring social or campaign content.
- Identity lock: The step where a character's face and voice are configured for repeatable output.
- Reusable scene: A background or environment you can apply across many videos.
- Preview-first workflow: Generate a lower-cost test output before committing final credits.
Step 1: Create an AI influencer identity in AI Character Creator
Go to AI Character Creator and set the three required inputs:
- Name
- Face reference (upload or AI-generated)
- Voice (preset or custom audio)
Why this step matters: identity consistency improves downstream outputs because every generation starts from the same base character setup.
Execution tips:
- Use a clear front-facing face reference with even lighting.
- Choose one voice profile for baseline consistency.
- Wait for model status completion before batch generation.
Step 2: Build 3 to 5 reusable scenes in AI Scene Generator
Open AI Scene Generator from your character and create backgrounds for your most common formats:
- Product background
- Lifestyle background
- Neutral talking-head background
- Vertical short-form background (9:16)
- Landscape explainer background (16:9)
Reusable scenes reduce production variance and speed up approvals because you are not reprompting backgrounds every time.
Step 3: Generate videos in AI Video Generator (preview first)
Open AI Video Generator and choose mode:
- Script Mode: text-to-speech performance
- Voice Mode: uploaded/recorded audio performance
Then run this sequence:
- Select a scene
- Add optional emotion instruction
- Generate preview
- Review pacing, clarity, and visual coherence
- Generate final output only after approval
Track outputs in Generations to monitor status and iterate quickly.
Optional branch: Music workflows
If your strategy includes music, continue in AI Music Video Generator:
- Generate a song from lyrics or a theme.
- Generate a full MV.
- Patch individual segments when specific moments need refinement.
Publishing checklist after you create an AI influencer video
- Match format to placement. TikTok recommends vertical-first delivery for in-feed creative, commonly 9:16 (TikTok Creative Specs).
- Use compatible portrait formats for YouTube placements where relevant (Google Ads Asset Specs).
- Add clear sponsorship disclosure for paid endorsements (FTC Endorsement Guidance).
- Include captions to satisfy accessibility best practices for prerecorded synchronized media (W3C WCAG 2.1 SC 1.2.2).
- Set weekly generation budget from Plans & Credits.
What Comes After Creation: The Daily Content Loop
Once your character, scenes, and first videos are ready, the daily workflow becomes a repeatable loop:
- Open AI Scene Generator — reuse an existing scene or build a new one for today's content.
- Open AI Video Generator — write a script or upload audio, attach the scene, and run a preview.
- Review the preview — check lip sync, pacing, and scene fit at 10 credits.
- Render the final — generate 1080p output at 10 credits per second.
- Download and post — export the file and upload to your platform (Instagram Reels, TikTok, YouTube Shorts, etc.).
This loop takes minutes, not hours. The reusable scene library and locked character identity mean you are not rebuilding from scratch each time.
For the full workflow overview, see the AI Influencer Generator page.
How Scenova Compares to a Multi-Tool Setup
Many creators building AI influencers use 6–8 separate tools. Here is how the workflows compare:
| Step | Multi-tool stack | Scenova |
|---|---|---|
| Face generation | Fal.ai or similar | AI Character Creator (identity lock) |
| Model training | Pykaso or similar | Multi-view generation (built in) |
| Voice cloning | ElevenLabs | MiniMax voice clone (built in) |
| Scene/background | Manual setup per tool | AI Scene Generator (reusable library) |
| Video generation | Kling, Wan, or similar | AI Video Generator (Script + Voice Mode) |
| Music video | Not typically available | AI Music Video Generator |
| Credit tracking | 6 separate billing accounts | One credit pool, cost shown before generation |
Scenova does not yet cover static photo generation or social media scheduling — those still require external tools. But for the character-to-video pipeline, one tool replaces most of the stack.
Frequently Asked Questions
What is the fastest way to create an AI influencer for weekly content?
Create one identity, prebuild scene templates, and use preview-first generation. This reduces rework and makes weekly production predictable.
How many scenes should I build before generating my first batch?
A practical baseline is 3 to 5 scenes mapped to your recurring content types. That usually covers most short-form and campaign variations.
Should I use Script Mode or Voice Mode first?
Start with Script Mode when message control matters most. Use Voice Mode when you already have recorded audio and want performance synchronization.
How do I keep outputs consistent across many videos?
Lock one character identity, reuse scenes, and keep prompt structures stable. Consistency comes from minimizing variable inputs.
Where should I monitor completed and in-progress outputs?
Use Generations for unified history across UGC videos, songs, and MVs.